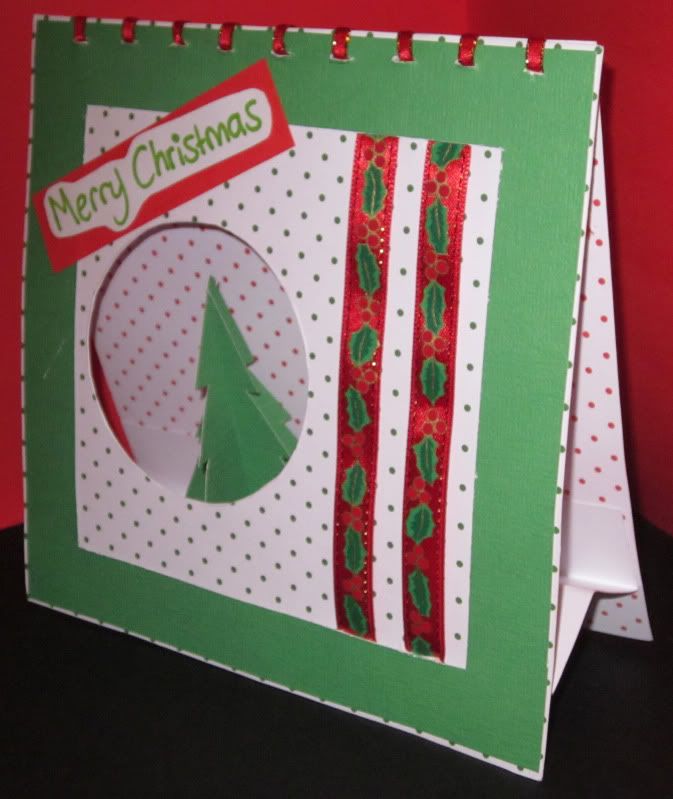
Christmas Tree Tent Card
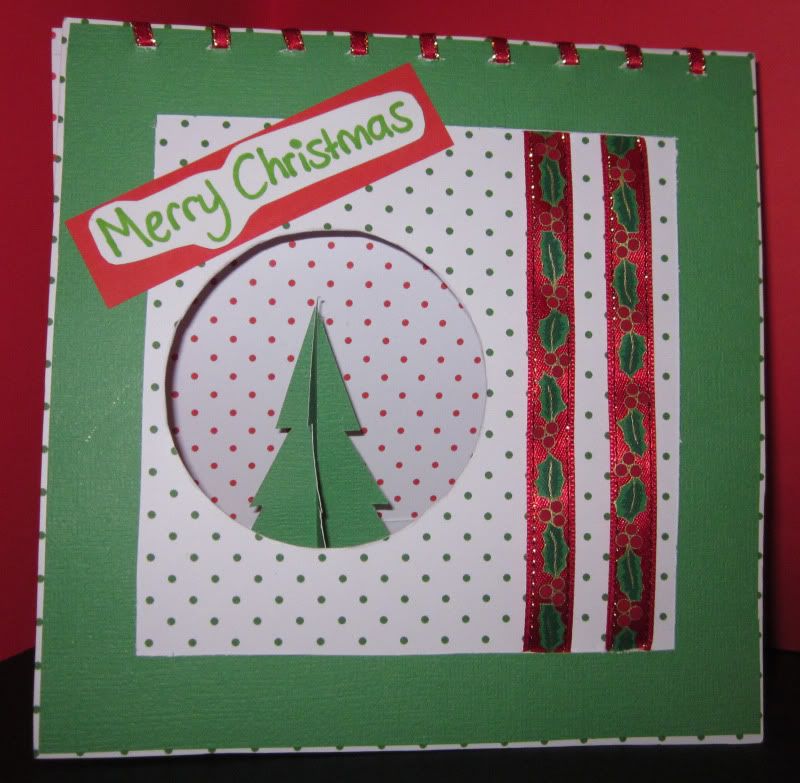
I used plain white card to make my tent card. I covered the front piece of card in green and white polka dot card, and the back piece in red and white polka dot card. I cut a square slightly smaller than the front piece of card out of green textured paper, and cut another square out of the center of it to make a frame. I then glued 2 pieces of red holly ribbon (slightly shorter in length than the card) down the right side of the front piece of card. Next I glued the green frame to the front piece of card. I then cut a circle out of the front card to the left of the green and white polka dot card.
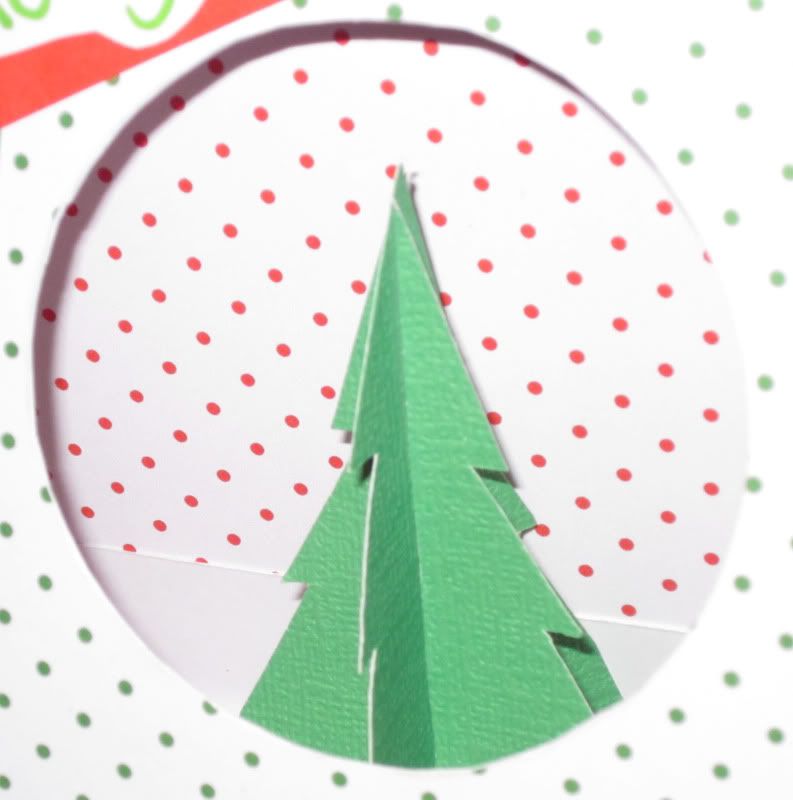
For my image element I decided to make a little 3D Christmas tree. I drew a Christmas tree on a scrap piece of paper and then cut 2 of them out of green textured card. I cut a slit 1/2 way down one of the trees, and I also cut a triangle out of the bottom about 1cm up. I then cut a slit 1/2 way up the other tree. I folded about 1cm of the bottom of the first tree to a 90 degree angle and used this to attach it to the base of the tent card. I then slid the 2nd tree onto the first at a 90 degree angle. I then folded and made some little tabs (kind of like a cube with only the sides) out of white card which I attached to the front and back cards as well as the base of the 2nd tree on the front and back, so that if the card was folded closed the tree would spring back out when it was opened again. Lastly I closed the top of my tent card by making small slits about 1.5cm apart and 0.5cm from the top of the card. I then threaded gold edged red ribbon through the slits to bind the card closed.
For more info on how to make a tent card Check out Hazel's great Tent Card Tutorial. It helped me heaps, thanks Hazel. :-*
I had so much fun making this card, was also great to learn a new technique and I would like to thank Kelly from Willow Sketchie Challenge for a fun twist and sketch. Good luck to all that enter. :D