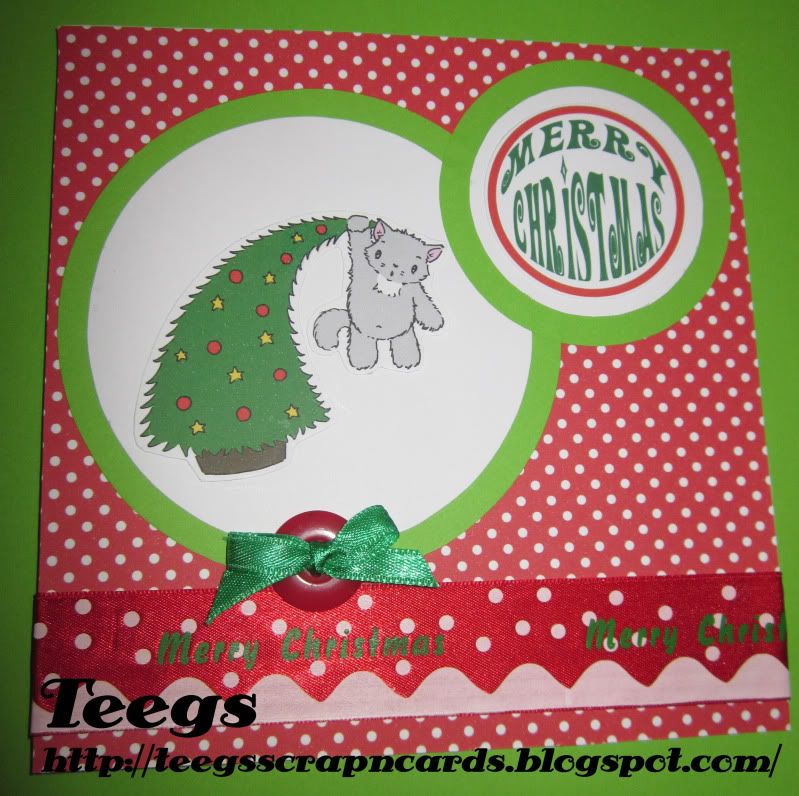
Button Circles Christmas Card
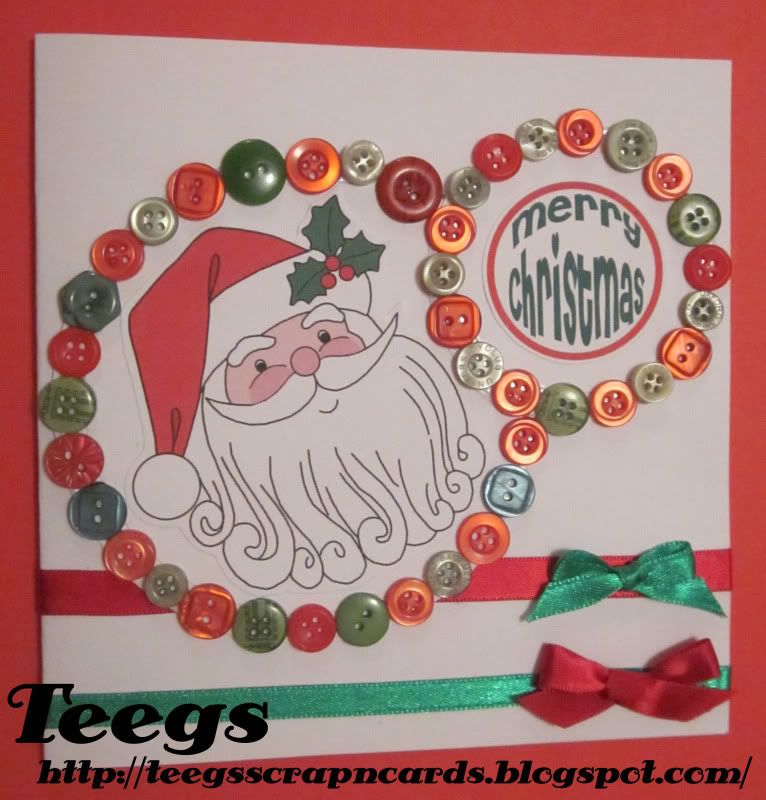
I used a white card as my base card. I then stuck a red and a green ribbon across the bottom of the card. I then made a red and a green bow which I stuck to the alternate coloured ribbon. I then cut 4 circles out of white card (1 large, 1 slightly smaller, 1 small and one slightly smaller than that). I glued the 2 bigger ones together (smaller one on top) and the 2 smaller ones together (smaller one on top again). Next I overlapped the smaller circles onto the big ones and glued it into place.
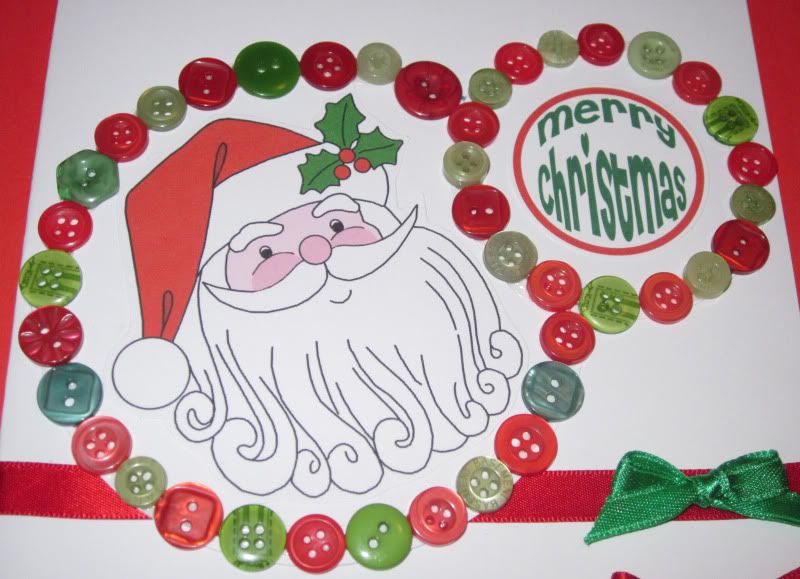
I then glued red and green buttons all around the small circle (using the smaller circle which I glued to it as a guide), and then around the edge of the large circle (once again using the smaller circle which I glued to it as a guide). Next I coloured in a Free My Memories Of Days Gone By Santa Digi in Photoshop, printed it on white card, trimmed around it and glued it to the center of the larger circles. Lastly I made a "Merry Christmas" sentiment in Photoshop, printed it on white card, trimmed around it and glued it to the center of the smaller circles.
Had heaps of fun making this card, was good to get to use some of my buttons too. I would once again like to thank Clairebears from Willow Sketchie Challenge for a fantastic recipe and sketch. Good luck to all that enter. :D