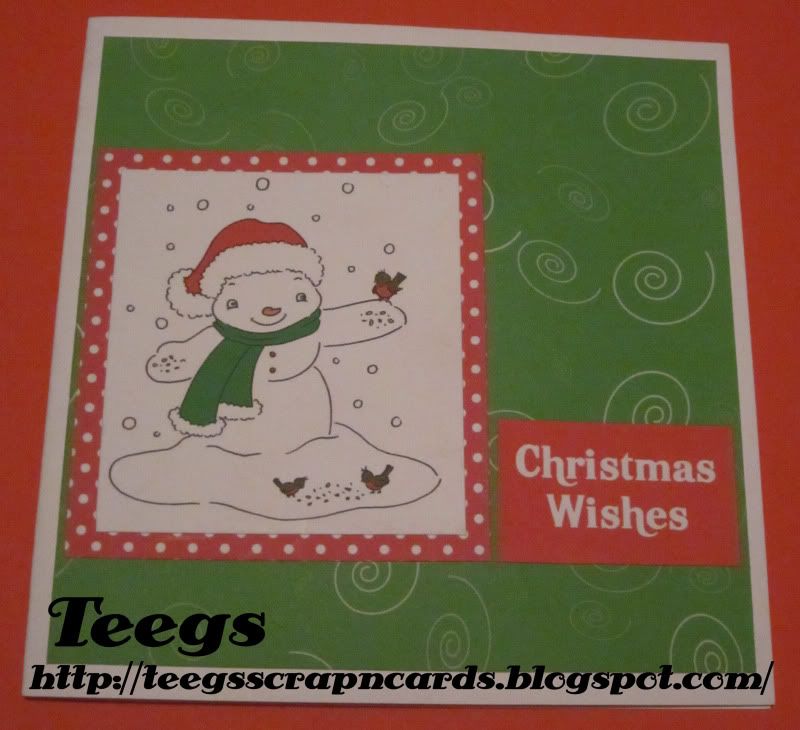
This is my first entry in this week's Willow Sketchie Challenge. Whilst there was no sketch or anything to follow this week, my Mum set me the challenge of making a money card for both my Nan and my Pop for Christmas. This one is for my Nan... I hope you all like it :D
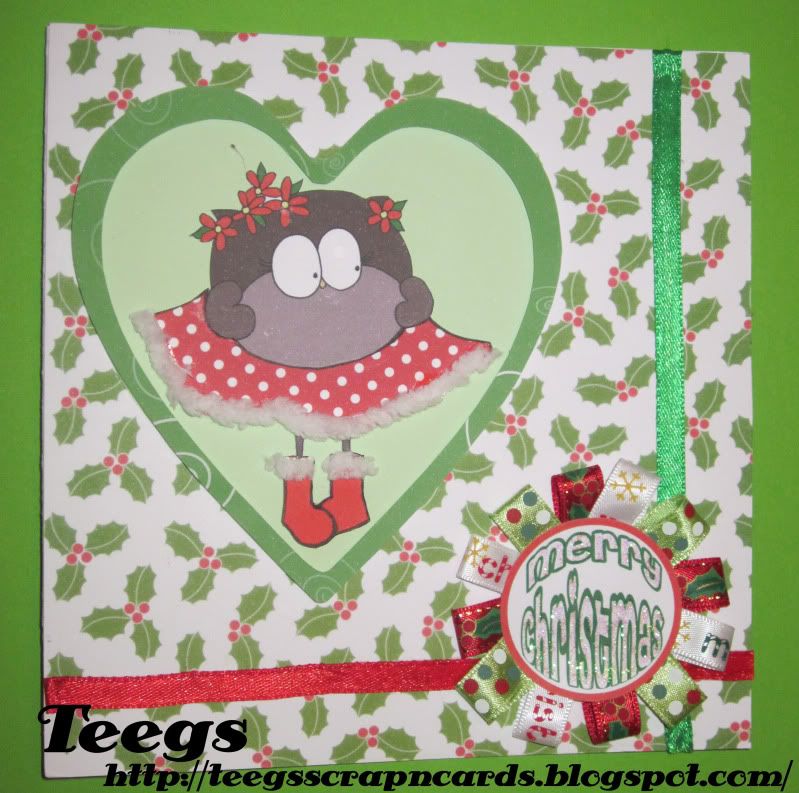
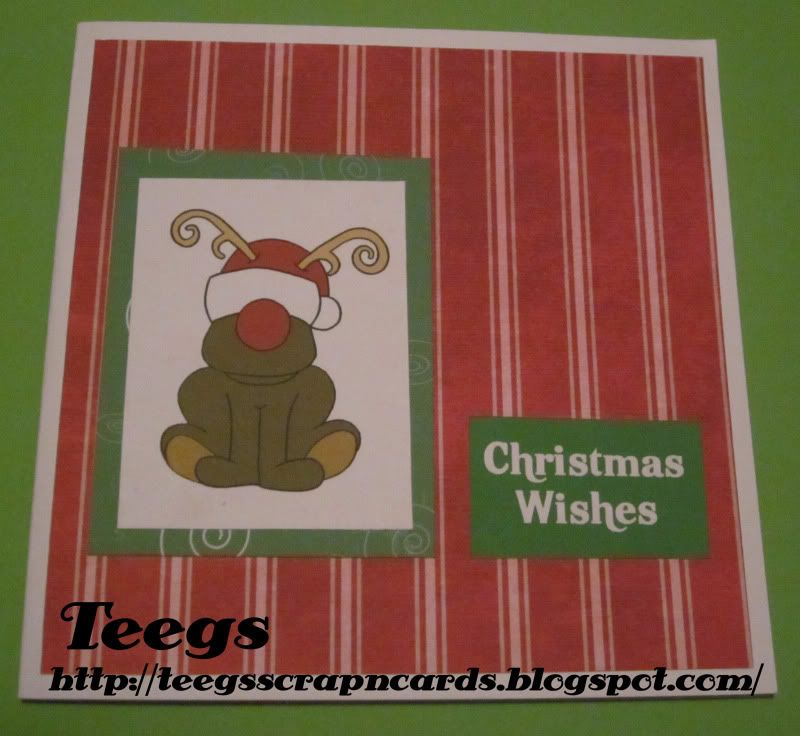
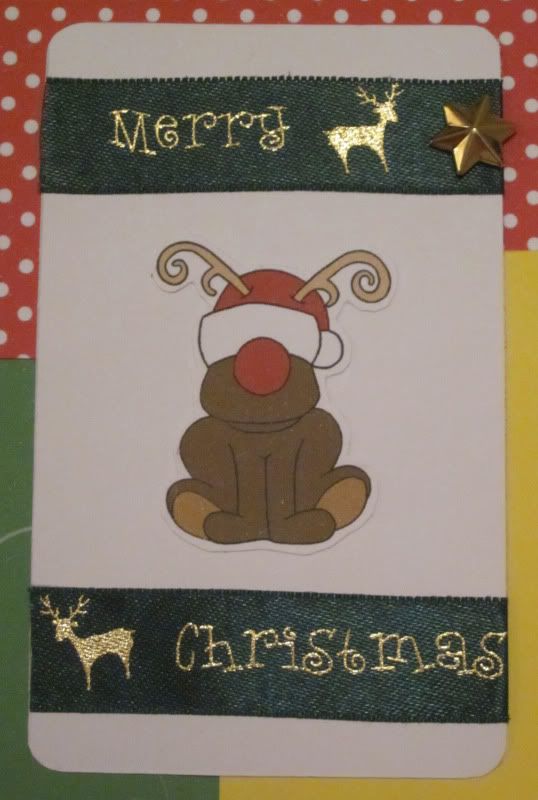
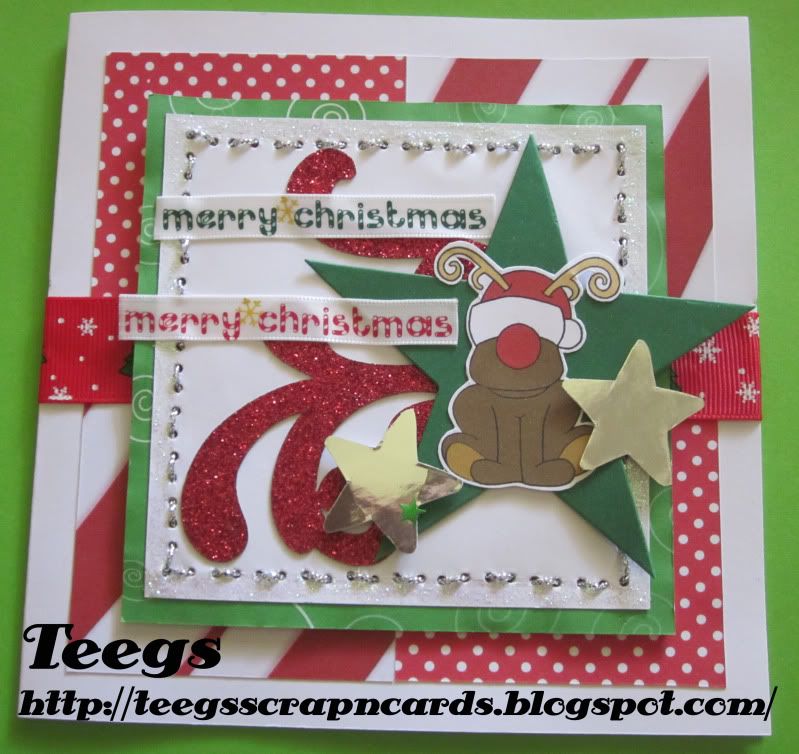
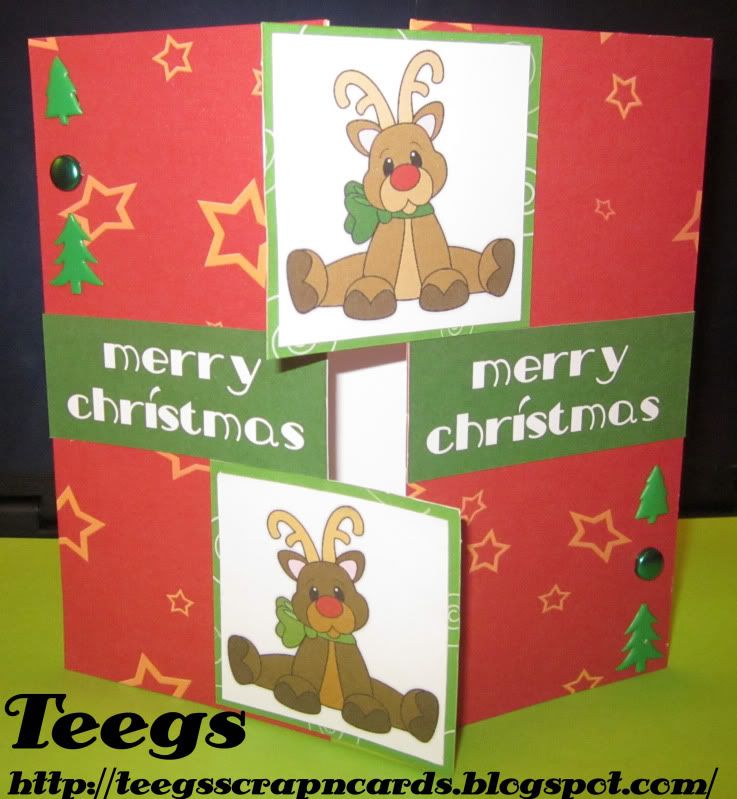
Reindeer Money Card
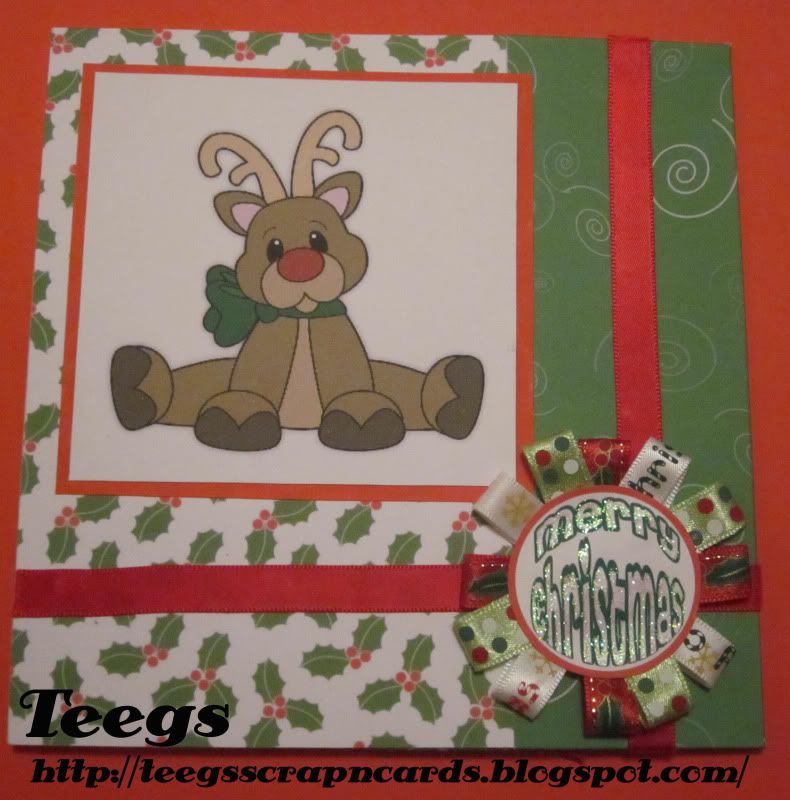
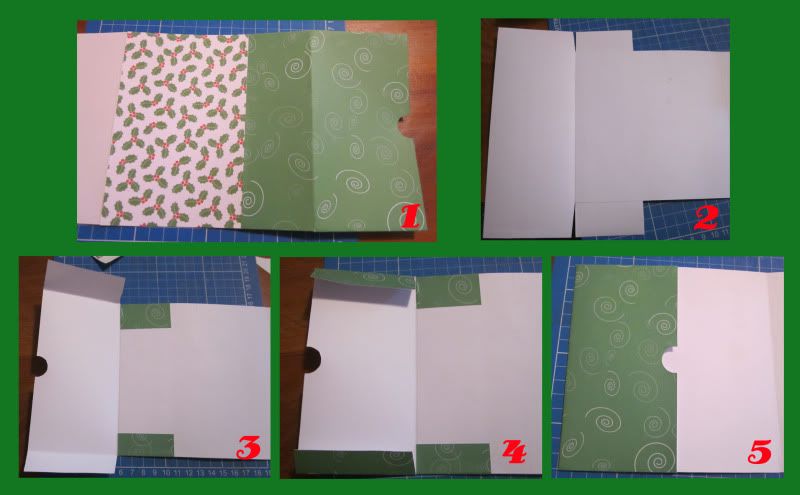
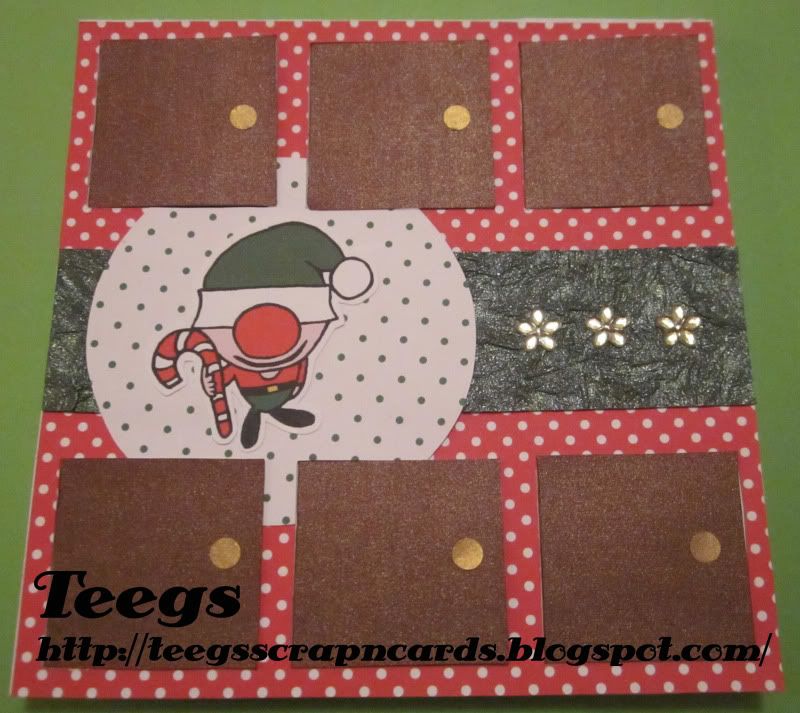
I used a white card as my base card. I then covered 2/3 of the card with a holly patterned paper. I then covered the remainder with a 20 x 20 sheet of free green swirl patterned paper from Free Digital Scrapbooking (leaving plenty of spare paper around the edges to make the money pocket, see tutorial below).
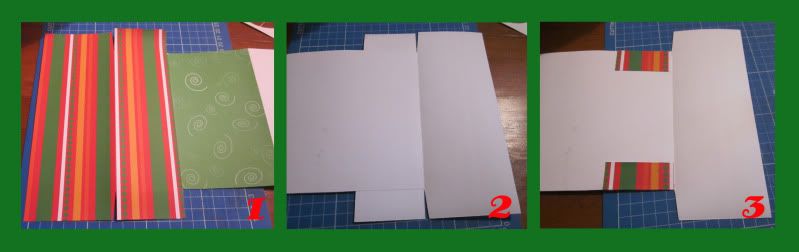
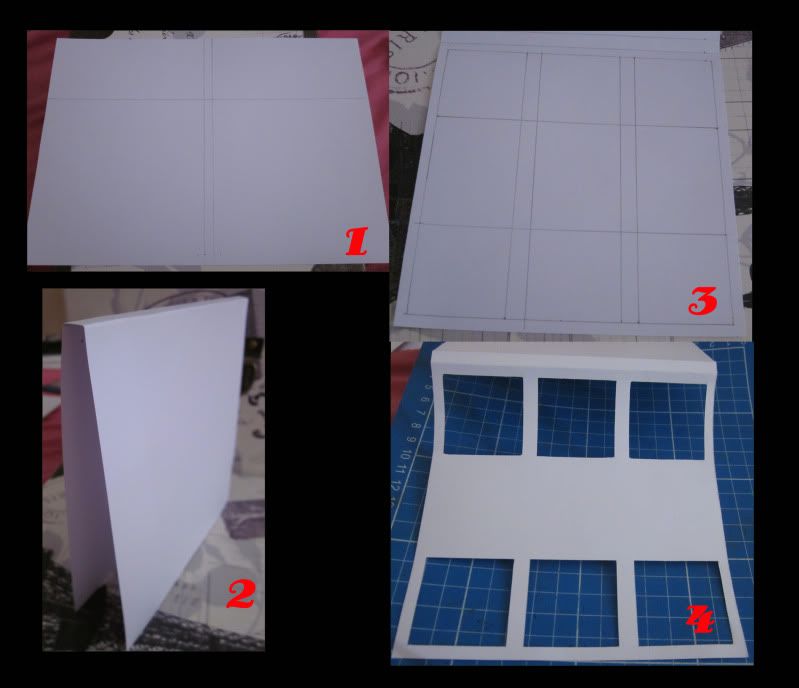
Sorry I got the order a bit mixed up in this pic, number 1 should really be number 4. :(
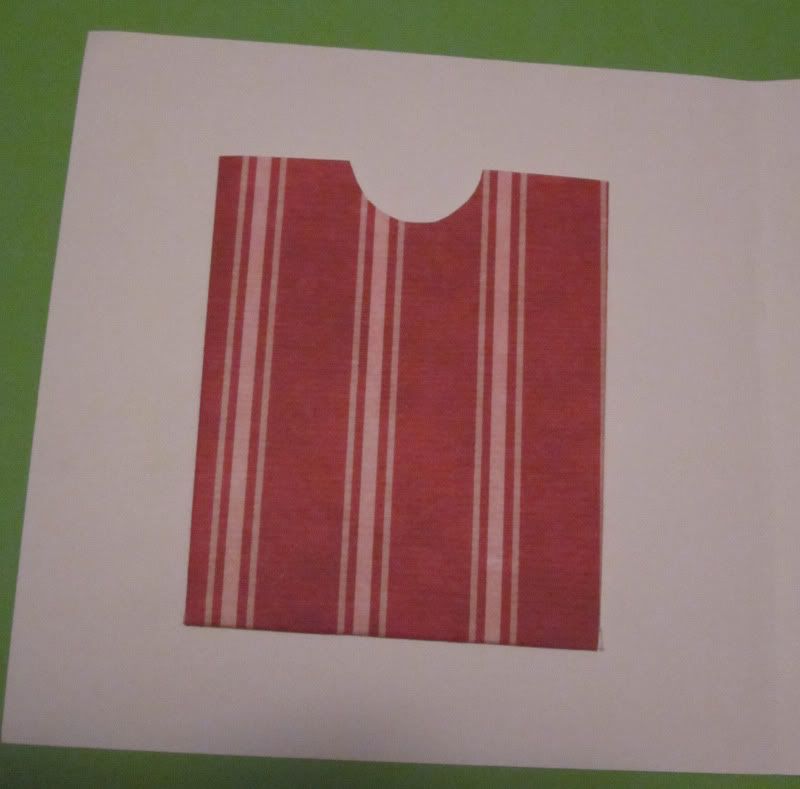
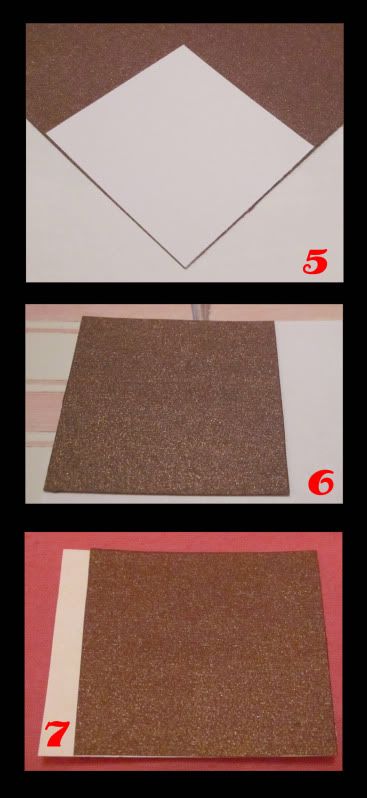
2. After covering the remainder of the card with the green swirl paper, I then turned it over and cut slits up to the card at the top and bottom of the spare paper around the edge to create 4 flaps. I also trimmed the spare paper at the side of the card to 8cm and cut a finger hole on the edge.
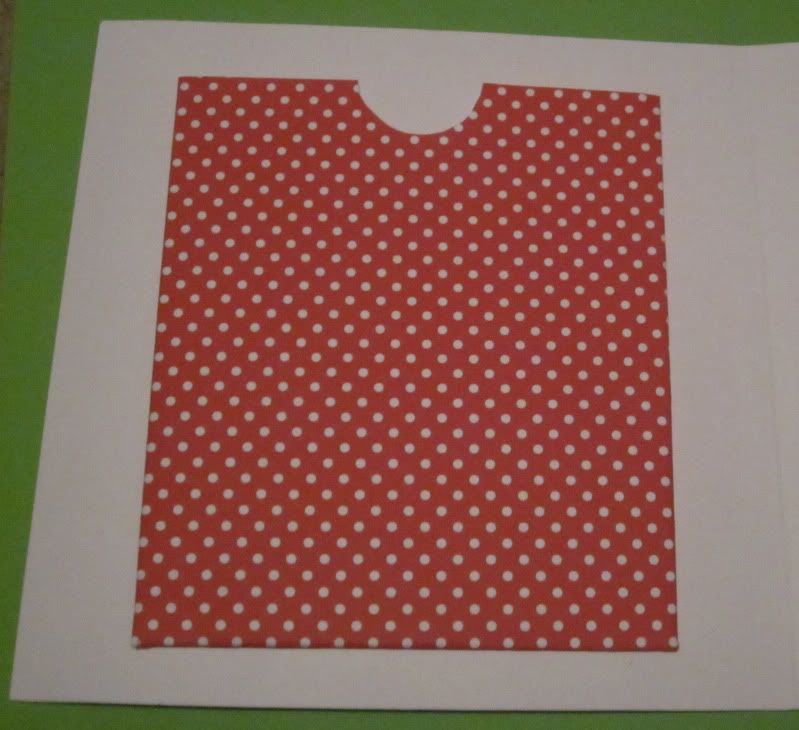
3. Next I folded over the 2 small flaps at the top and bottom. I then glued the 2 smaller flaps to the card.
4. I then folded over the 2 larger flaps.
1. This is what it should look like on the reverse side.
5. Lastly I glued the 2 larger flaps down (put glue on the patterned side).
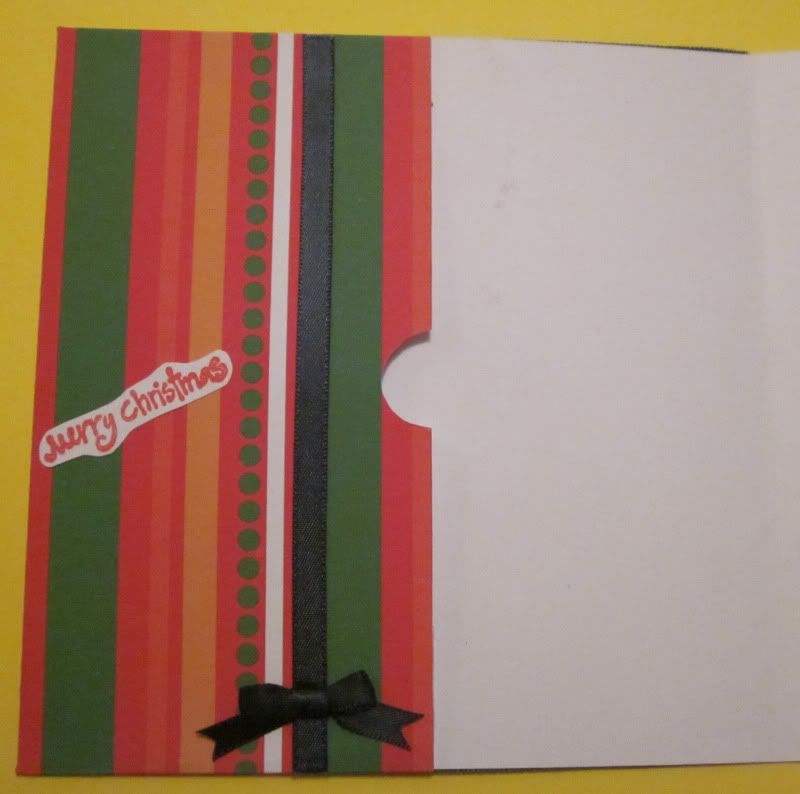
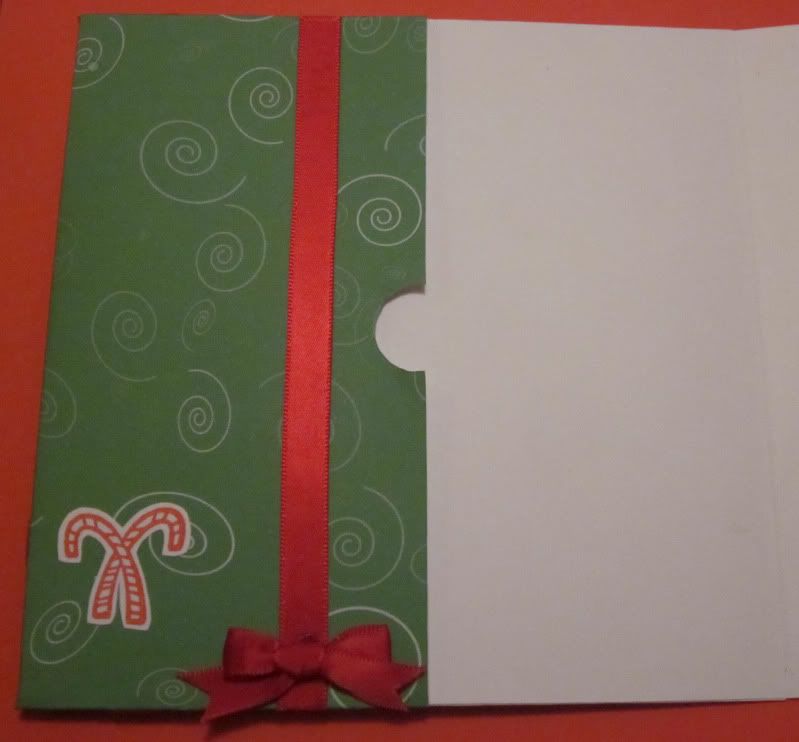
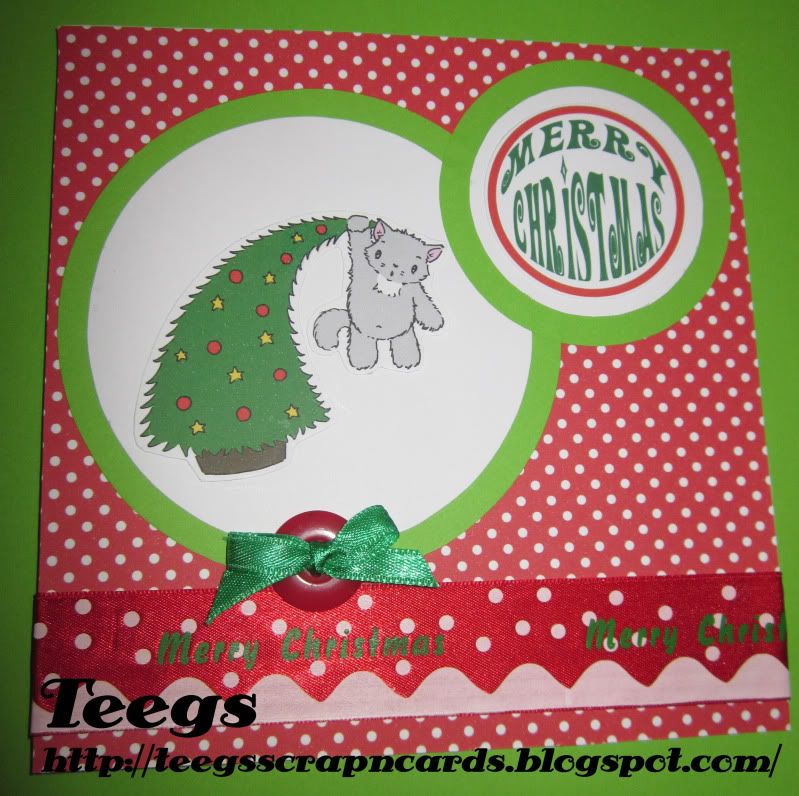
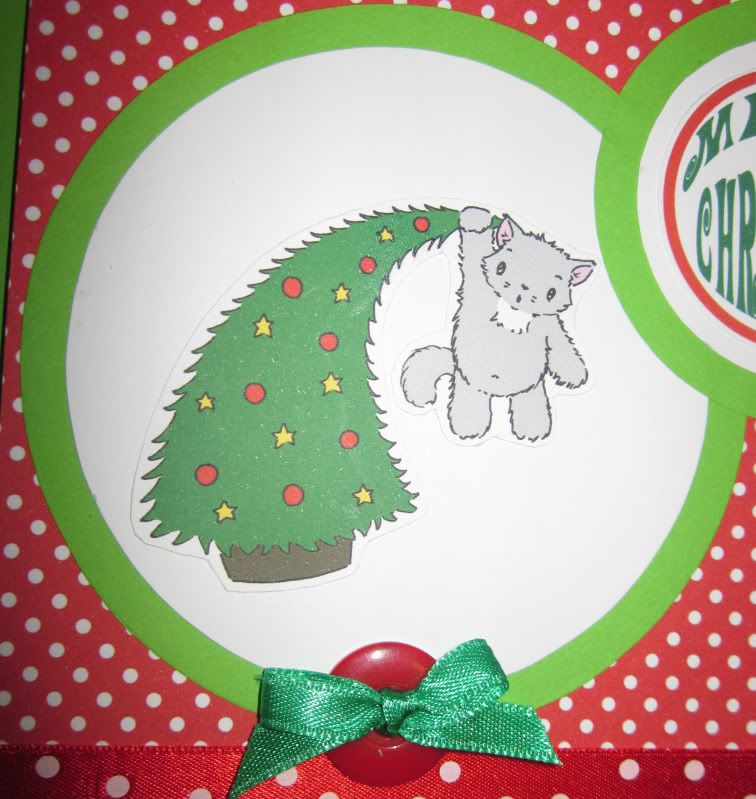
I then decorated the pocket with a ribbon, bow and stamped image.
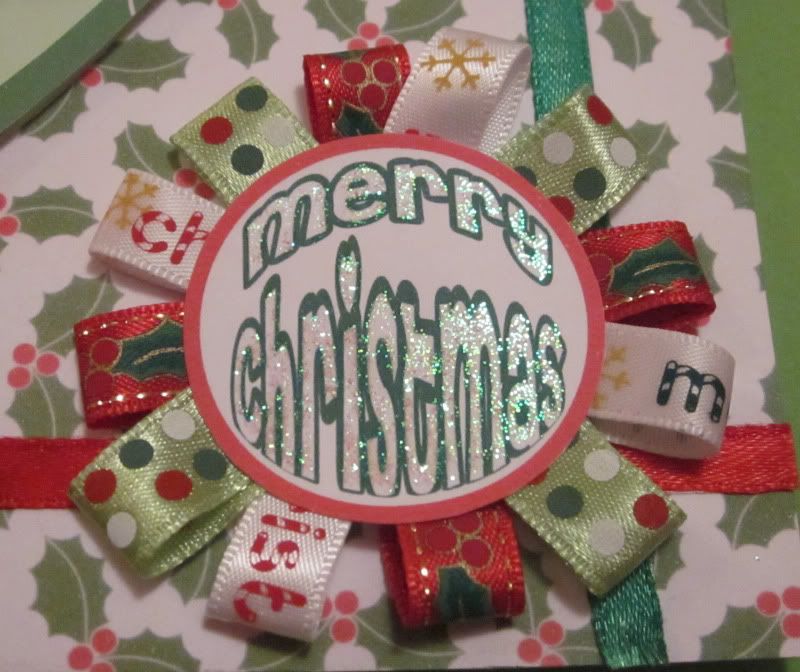
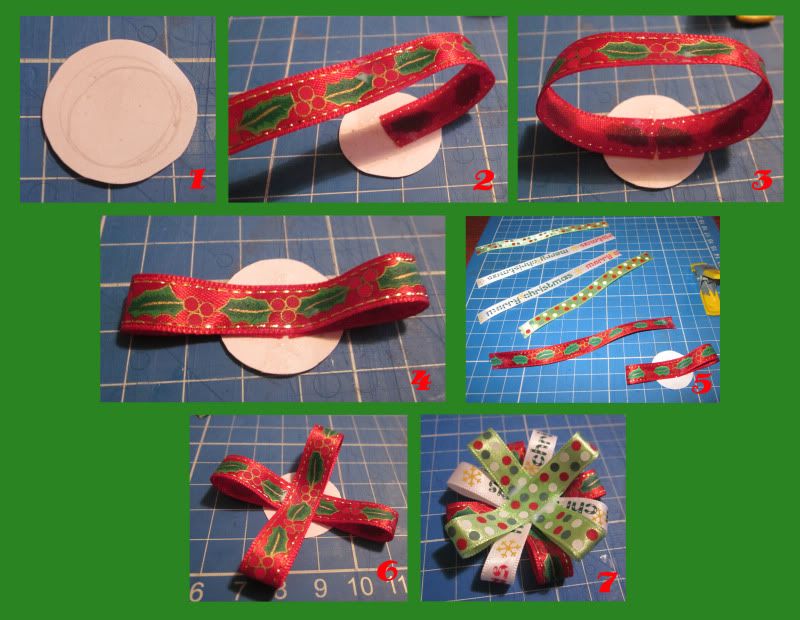
I then made the ribbon circle for the sentiment.
1. First I cut a small circle out of a piece of scrap white card.
2. I then cut 6 lengths of varying ribbons to the same length (mine were 12cm, so that my circle ended up 6cm). I then glued one end of one piece of ribbon from the center to the right of the white card circle.
3. I then repeated with the other end.
4. I then applied a dot of glue over the ribbon end join, and pressed the ribbon down onto it in the center.
5. Next select another piece of ribbon.
6. Repeat steps 2 to 4 making the ribbon crisscross over the first.
7. Repeat with all ribbons until you end up with something like this. Make sure you either use a peg, clip or put some weight on the circle to hold ribbons in place until it is dry (I used my glue bottle for this).
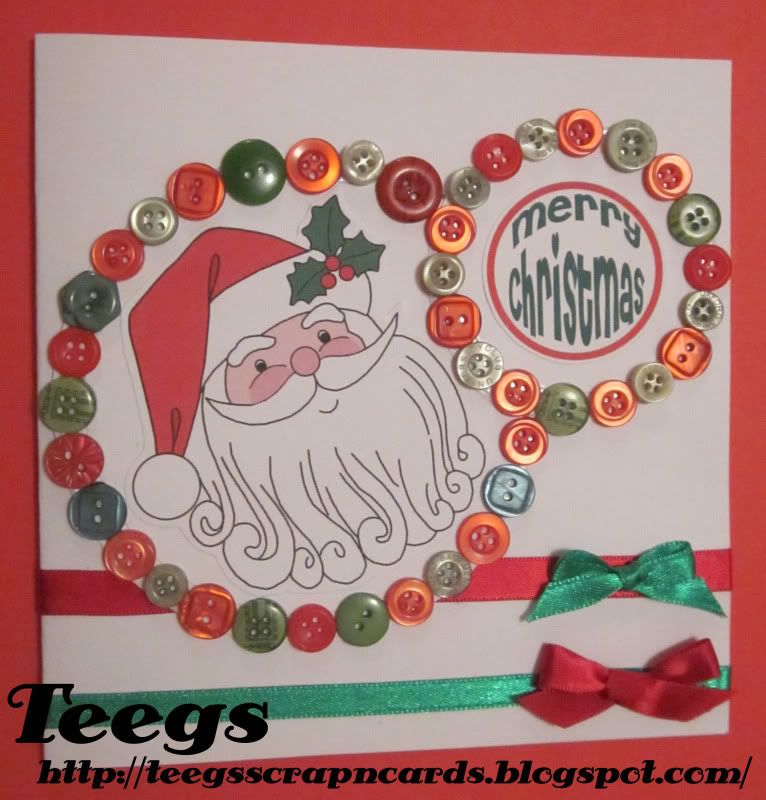
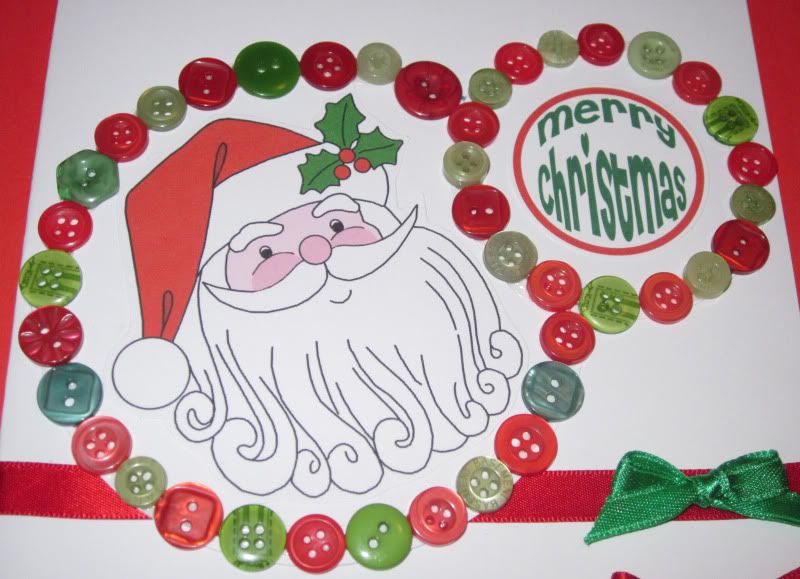
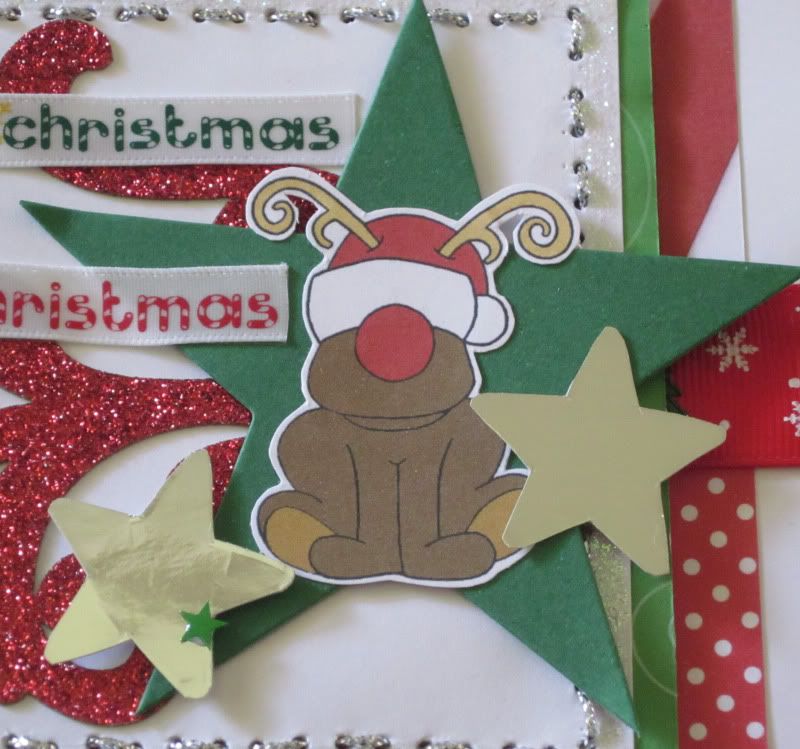
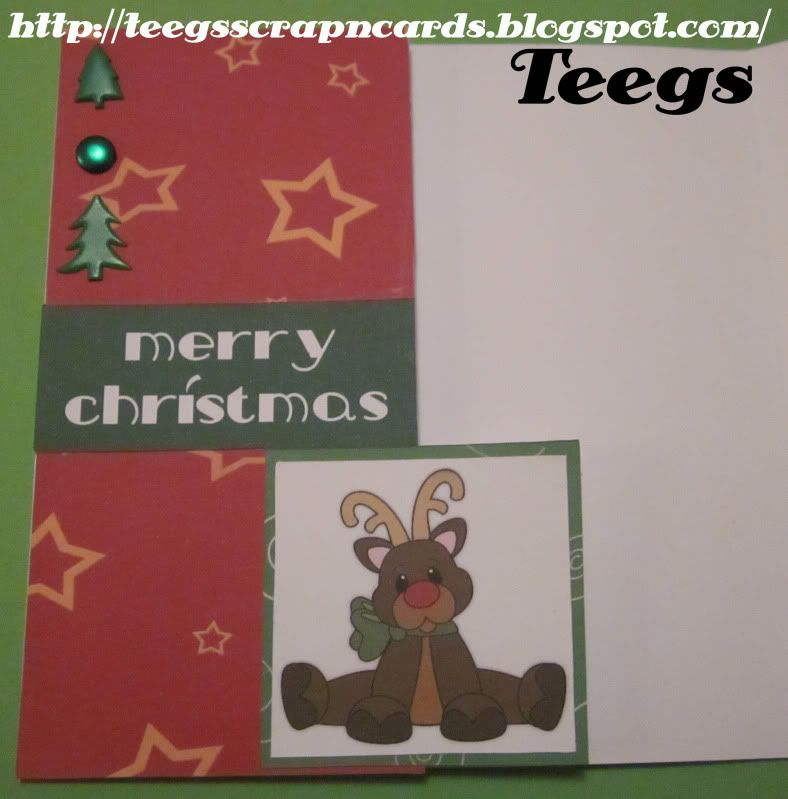
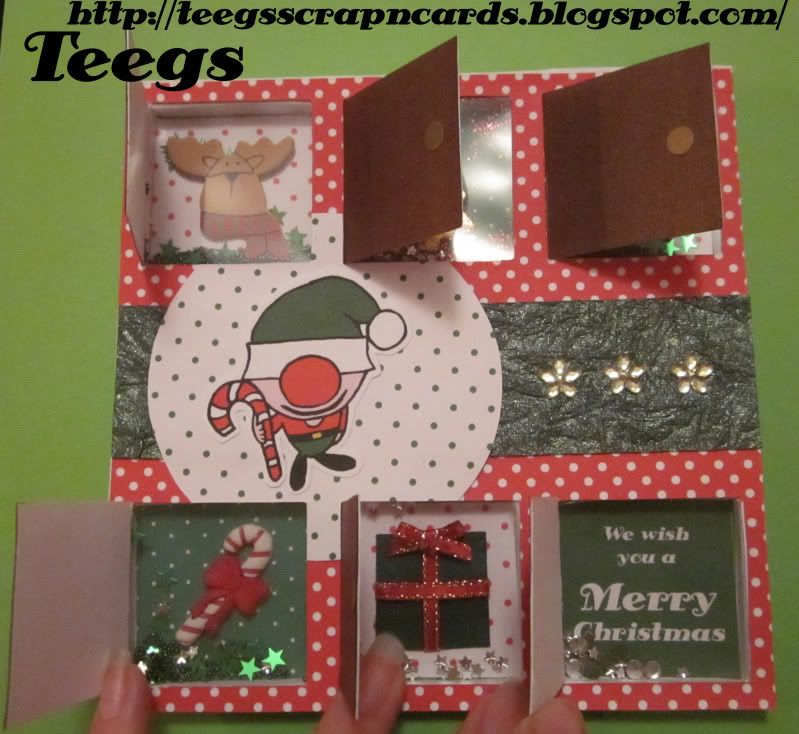
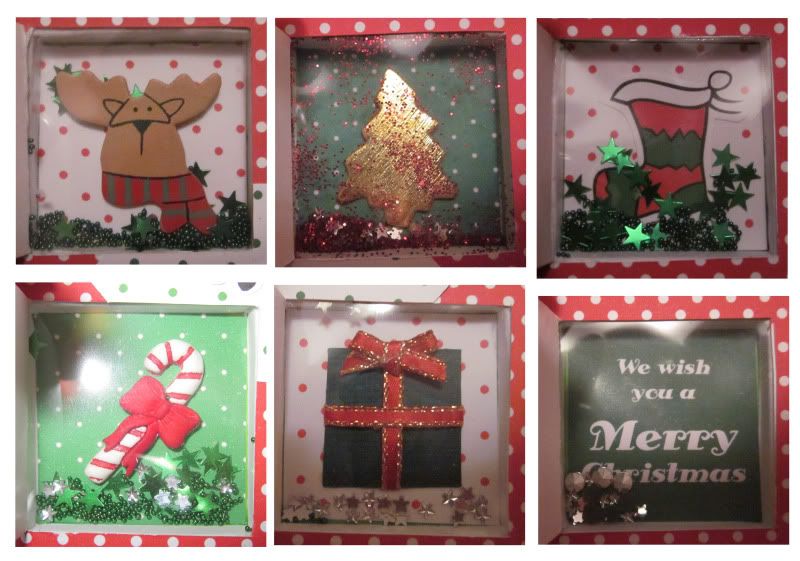
Next I made a "Merry Christmas" Sentiment in Photoshop, printed it on white card, cut it out, glued it to the ribbon circle and applied glitter glue to the text. I then coloured in a free reindeer Digi Stamp from
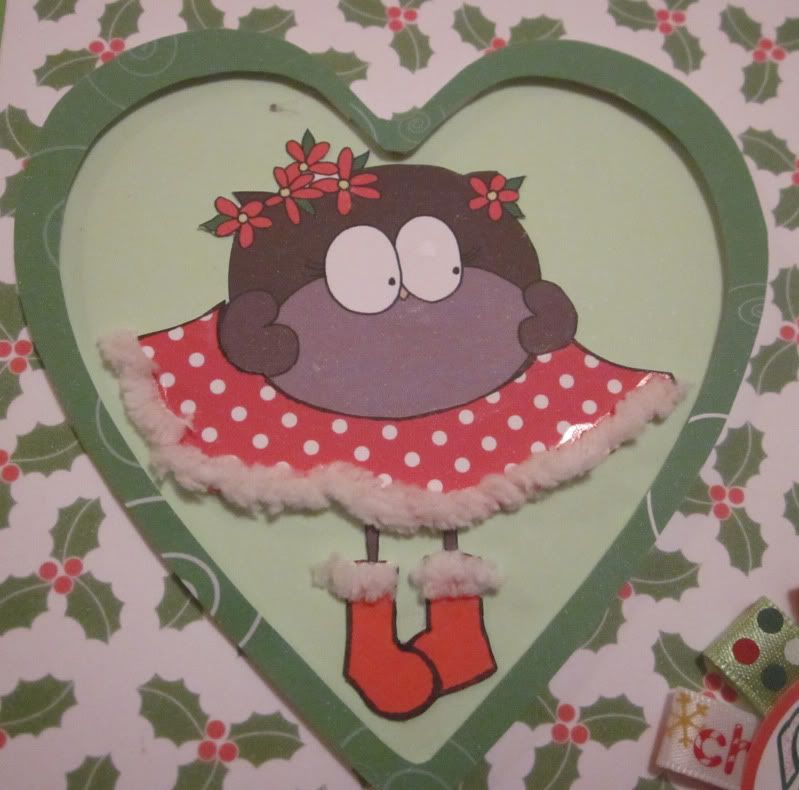
Little Scraps Of Heaven Designs in Photoshop, printed it on white card and trimmed it into a square. I then matted it to a square of red paper and glued it to the top left of my card. I then attached 2 red ribbons to the bottom and right side of my card. Lastly I used double sided tape to attach my ribbon circle sentiment to the bottom right of my card.
I had so much fun creating this card and would like to thank the DT at Willow Sketchie Challenge and my Mum for a great challenge. Good luck to all that enter. :D