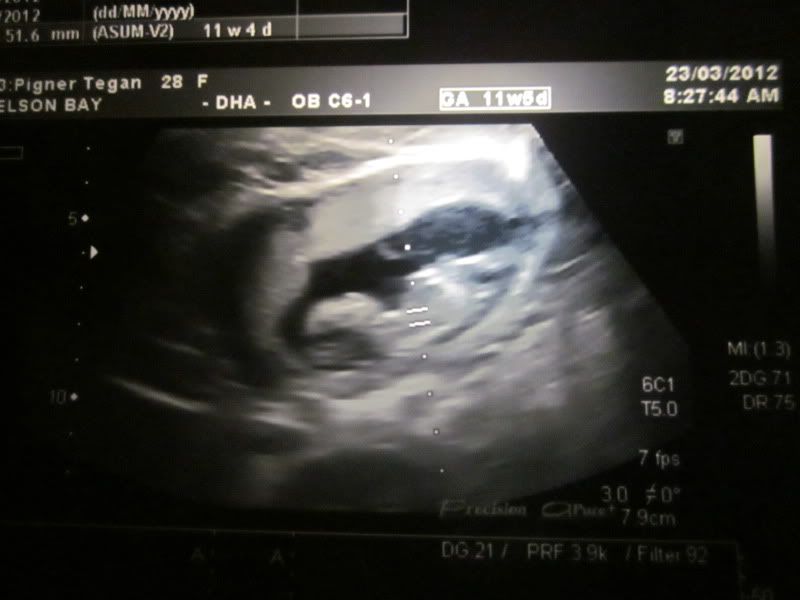
This is a pic of our baby taken at my first ultra sound scan at 11 weeks and 4 days.
Cards
- Anniversary (1)
- Belated Birthday (1)
- Birthday (21)
- Christmas (26)
- Father's Day (1)
- Gift Boxes (1)
- Love (1)
- Mother's Day (2)
- Other Cards (4)
- Scrapbooking (2)
- Thank You (3)
- Valentine's Day (1)
- Wedding (2)
Tuesday, 17 April 2012
My Apologies and Some Exciting News
Sorry I haven't been around much lately... Sorry to the Willow Sketchie Challenge DT that I missed last week's challenge too. I haven't been crafting much lately... Which brings me to my exciting news... I am 15 weeks pregnant. :D Baby and myself are well... However I have been very tired and it is taking me a bit to learn my limits... My craft mojo also seems to have run away of late. :( Hoping it returns soon as I have a few Birthday cards I need to make. ;)
Wednesday, 4 April 2012
Peek-A-Bunny Easter Card
I have been sick with the flu all week, but no matter what I was going to get my entry for this week's Willow Sketchie Challenge done... And tonight I did just that. I once again used both the sketch and the theme. Hope you all like it. :D
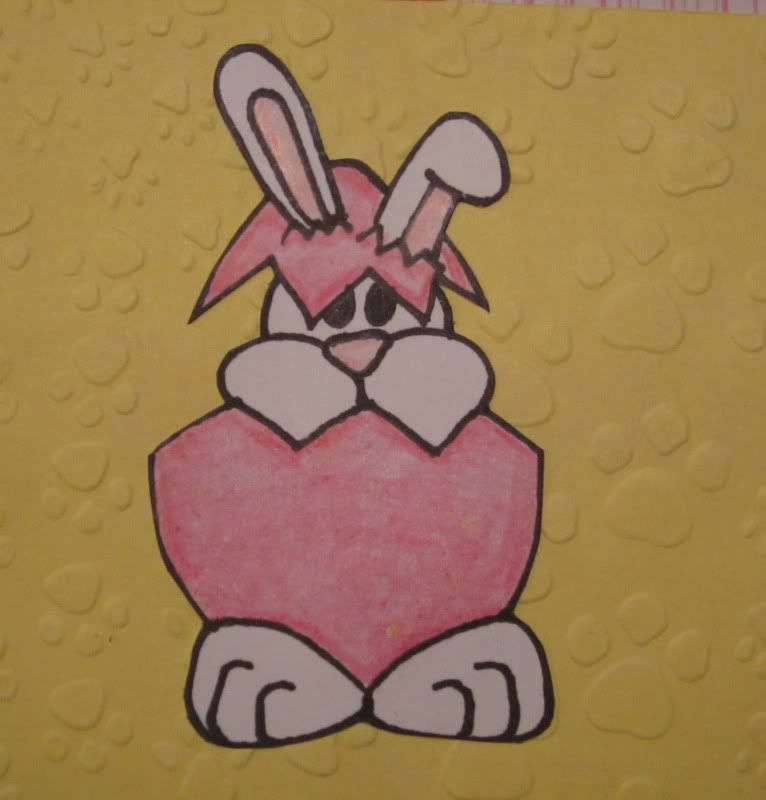
Peek-A-Bunny Easter Card
I used white card for my base card which I covered with pink paper. I then cut 4 6cm x 6cm squares out of a white and pink patterned paper and stuck them onto the card. I embossed a piece of yellow paper using paw print embossing plates and then cut out a 8 x 8cm square.
I sketched a bunny picture onto a piece of white card, traced around it with a black marker, coloured it in with coloured pencils and trimmed around it. I then glued it to the embossed yellow paw print square and attached it to the center of the card. Lastly I threaded pink satin ribbon through 2 yellow buttons and tied a bow and glued one to the top left corner and the other to the bottom right corner of the card.
I would like to congratulate Claire from Willow Sketchie Challenge on her recent wedding and also thank her for a great sketch and theme. Good luck to all that enter. :D
Wednesday, 28 March 2012
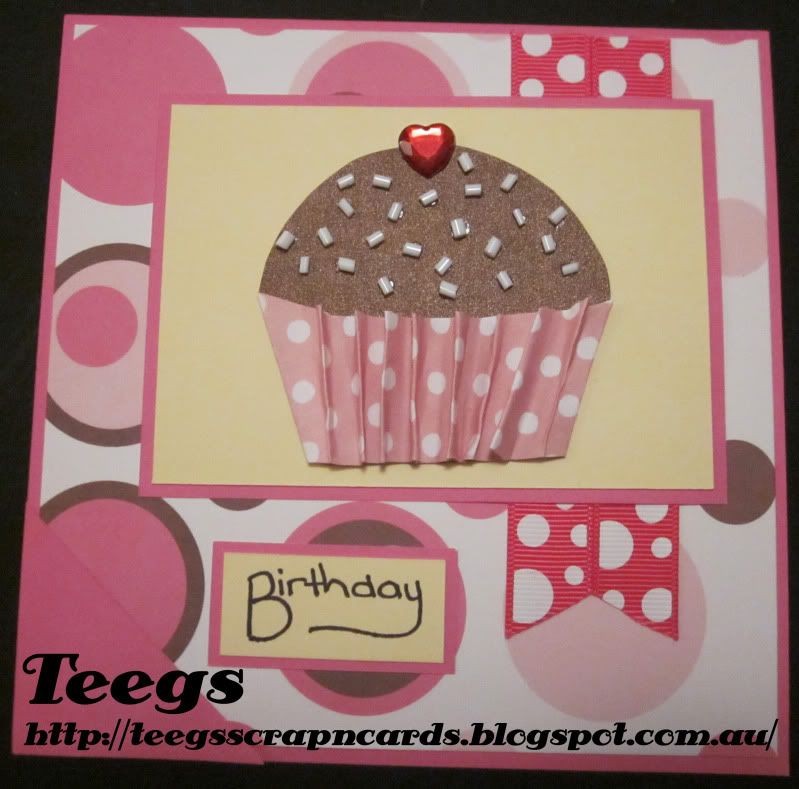
Cupcake With Sprinkles Birthday Card
I finally managed to get my entry for this week's Willow Sketchie Challenge done tonight. I once again used the theme as well as the sketch. Hope you all like it. :D
I used white card for the base card, which I then covered with a plain pink paper. I then cut a square slightly smaller than the card itself out of a pink and brown spotted paper, and attached it to the card. I attached 2 pink and white spotted ribbons down the right side of my card and cut them both to form a "V". Next I cut a triangle out of pink paper and attached it to the bottom left corner. I then cut 2 different sized rectangles out of yellow card and matted them with pink paper.
I was very pleased with how this card turned out and I would like to thank Lisa from Willow Sketchie Challenge for a great sketch and theme. Good luck to all that enter. :D
Cup Cake With Sprinkles Birthday Card
I used white card for the base card, which I then covered with a plain pink paper. I then cut a square slightly smaller than the card itself out of a pink and brown spotted paper, and attached it to the card. I attached 2 pink and white spotted ribbons down the right side of my card and cut them both to form a "V". Next I cut a triangle out of pink paper and attached it to the bottom left corner. I then cut 2 different sized rectangles out of yellow card and matted them with pink paper.
To make the cupcake I first drew a cupcake onto a piece of brown metallic paper and cut it out. Next I cut a strip of pink polka dot paper and folded it like an accordion. I then trimmed and attached it to the bottom of the cupcake cut out. Next I attached the cupcake to the center of the larger yellow card rectangle. I then glued a red diamonte heart to the top of the cupcake and long white beads on for sprinkles. I then attached it to the card. Lastly I made the sentiment by writing "Birthday" onto the smaller yellow card rectangle using a black marker.
Wednesday, 21 March 2012
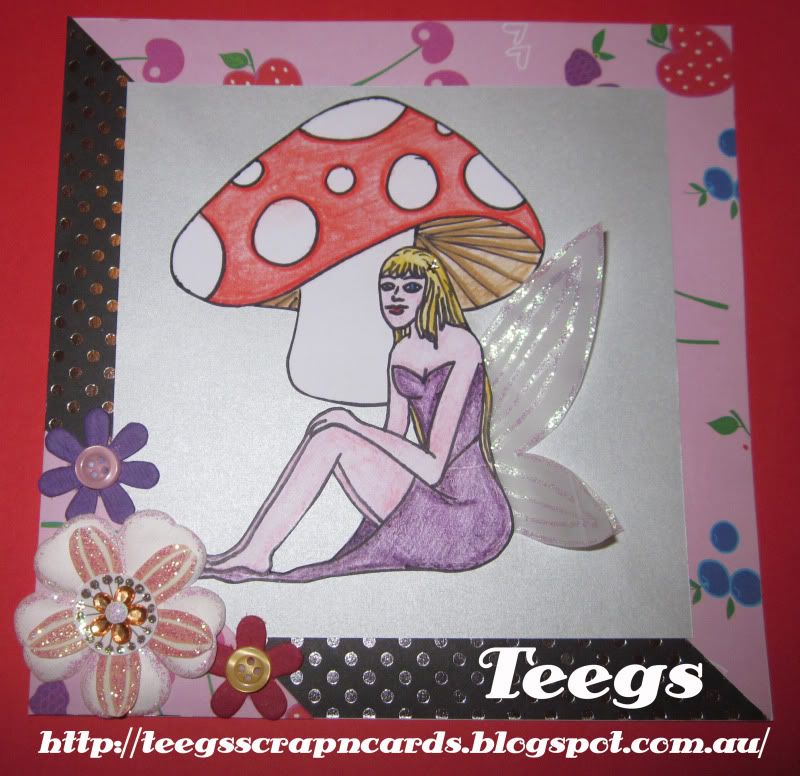
Fairy And Mushroom Card
Has been another busy week for me, but I managed to get my entry for this week's Willow Sketchie Challenge done tonight. I decided to once again use both the sketch and the theme. Hope you all like it. :D
Fairy And Mushroom Card
I used white card for my base card. I then cut 2 triangles half the size of my card, 1 out of black and silver polka dot card and the other out of a berry pink patterned paper. I then attached them to my card. Next I cut a smaller triangle out of the berry pink patterned paper and a square out of pale blue metallic paper and set them aside.
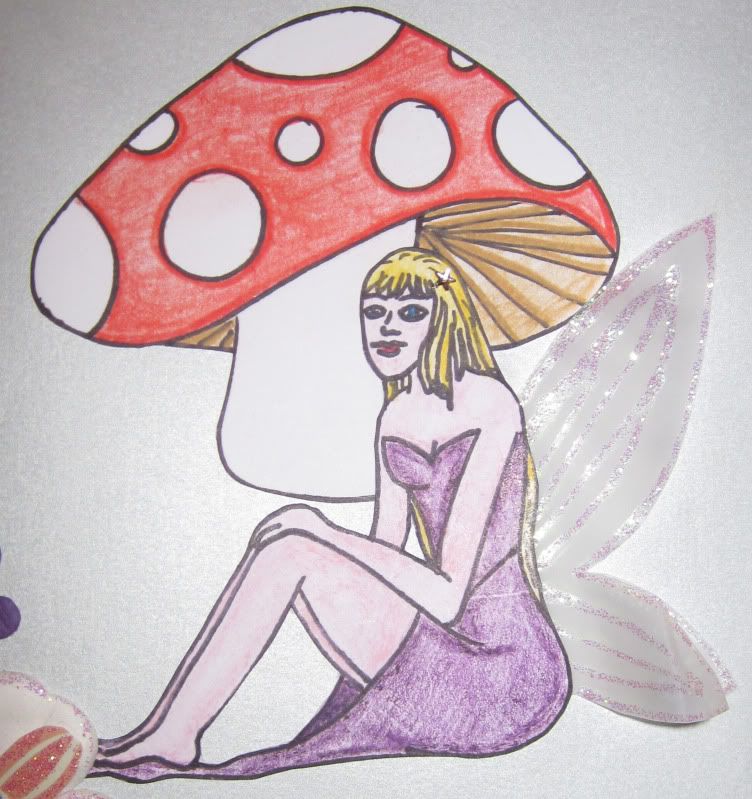
I then sketched a fairy and a mushroom and went back over them with a black marker. I then coloured them in with pencils and cut them both out. I made the fairy some wings out of white velum, which I added some glitter to and attached to the back of the fairy. I glued the mushroom and fairy onto the pale blue metallic square, which I then attached to the center of my card. Next I glued a tiny star diamonte in the fairy's hair.
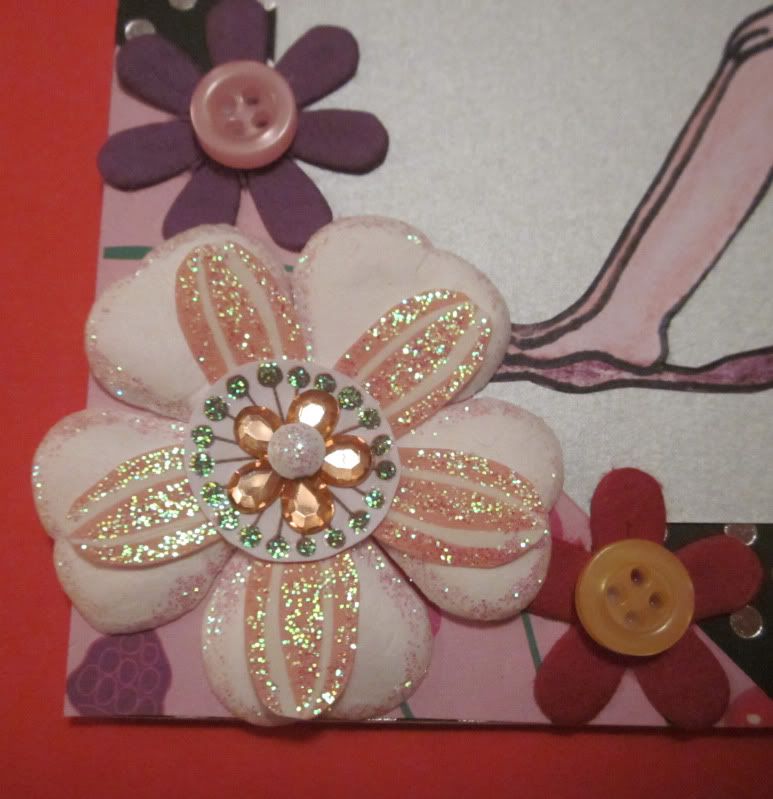
I then attached the small berry pink triangle to the bottom left corner of the card. Lastly I made some flower embellishments using paper flowers, glitter glue, diamontes and buttons and I then attached them to the small berry pink triangle.
I really enjoyed making this card, and I would like to thank Pauline from Willow Sketchie Challenge for a fantastic sketch and theme. Good luck to all that enter. :D
Wednesday, 14 March 2012
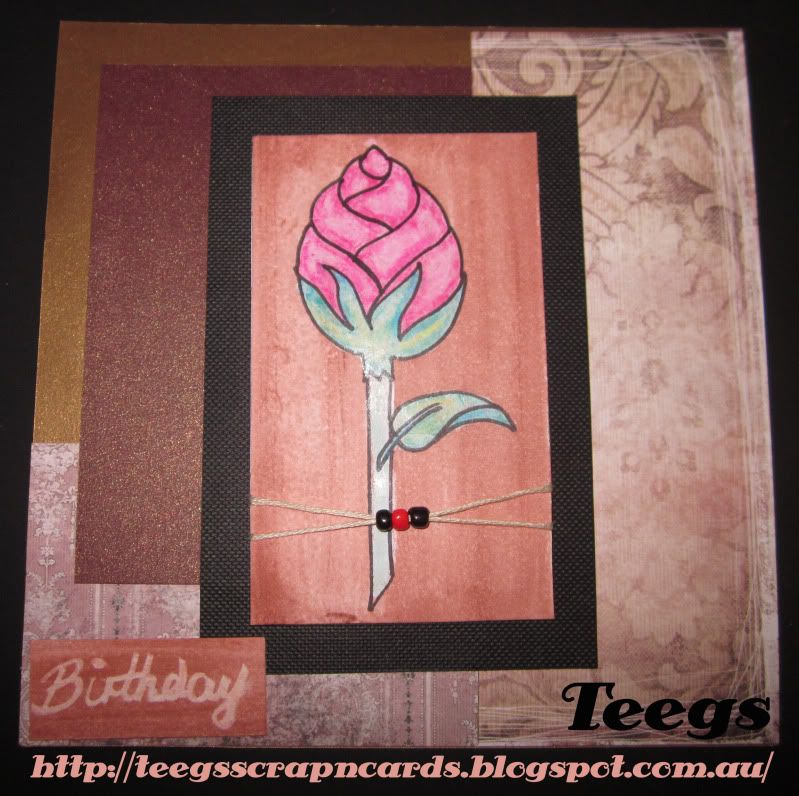
Rose Bud Birthday Card
Have been super busy the last few days getting our house nice and clean for the real estate to do an inspection on Friday. Managed to sneak a bit of time today to get my entry for this week's Willow Sketchie Challenge done though. This week they gave us the option between a sketch and a theme (use ribbon or twine), I chose to do both. Hope you all like it. :D
I used white card for my base card, which I covered with gold paper. I then cut 3 different sized rectangles out of various patterned and plain papers and attached them to my card.
Rose Bud Birthday Card
I used white card for my base card, which I covered with gold paper. I then cut 3 different sized rectangles out of various patterned and plain papers and attached them to my card.
The rose bud was a quick sketch that drew and then went back over with a black marker. I then coloured it in with crayons. Next I added a dab of brown acrylic paint to some water, mixed it up and then painted over the rose bud. Once dry I wrapped a piece of twine around the image, threaded some beads onto it and tied it off at the back of the image. I then matted the rose bud image to a piece of black textured paper and attached it to my card.
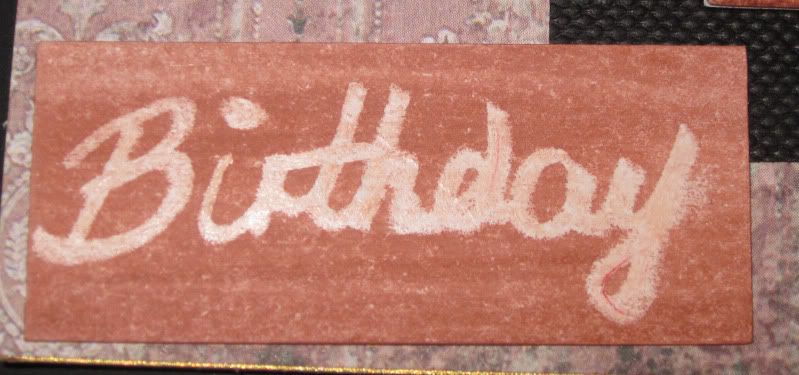
Lastly I made the "Birthday" sentiment using the same technique that I used for the rose bud, I wrote the "Birthday" text in a peach coloured crayon and then painted over it with brown acrylic paint mixed with water. Once dry I attached it to my card.
I enjoyed doing something a little different this week and I would like to thank Miria from Willow Sketchie Challenge for a great sketch, as well as wish her all the best in her future crafting. Good luck to all that enter. :D
Monday, 5 March 2012
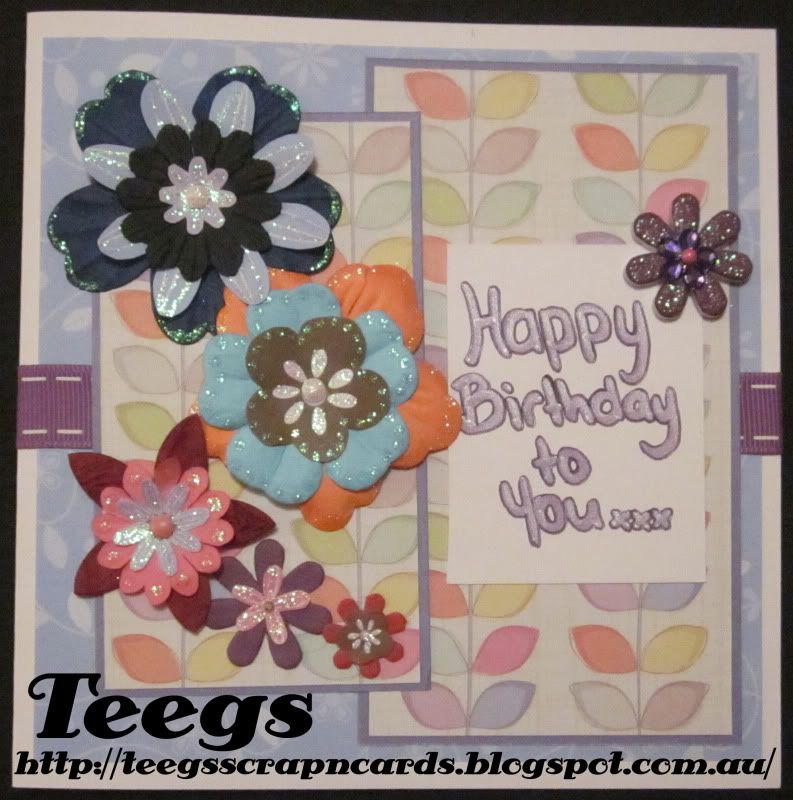
A Flowery Birthday Card
I made this card last night for my entry in this week's Willow Sketchie Challenge. I came across a whole heap of paper flowers that I had forgot I had bought and thought that I would use them to create my card. Hope you all like it. :D
A Flowery Birthday Card
I used white card for my base card. I then cut a square (1cm smaller than the card itself) out of a blue floral patterned paper and attached it to the center of my card. I then attached a purple ribbon across the center of the card. Next I cut 2 rectangles (one slightly smaller then the other) out of a multi-cloured leaf patterned paper, matted them with purple paper and attached them to the card.
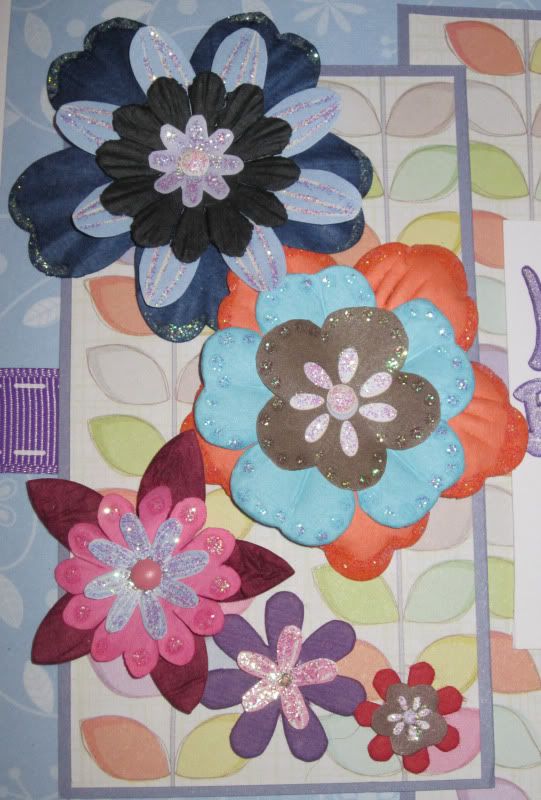
I then applied glitter glue to a variety of paper flowers (I also used flowers off a flower patterned paper) and left them to dry. Whilst they were drying I made a "Happy Birthday To You" sentiment by writing the text freehand on a piece of white card using a purple metallic marker, I then went around the text with a purple gel pen and attached it to the center of the larger rectangle. Once the paper flowers were dry I layered them on top of each other and secured with a brad (or for the smaller ones I just glued them in place), I then attached them to the smaller rectangle on the card. I applied glitter glue to 2 of the brads that were holding the flowers too. Lastly I glued a purple diamonte flower on to a pre-made purple glitter flower embellishment, which I then attached to the top right of my sentiment.
Even though I was covered in glitter by the end, I had fun making this card and would like to thank Kelly from Willow Sketchie Challenge for a great sketch and recipe. Good luck to all that enter. :D
Tuesday, 28 February 2012
2 Gift Boxes
The theme at Willow Sketchie Challenge this week is "Anything Goes", so I decided to do something a bit different and make a couple of gift boxes instead of a card for my entry. Hope you all like them. :D
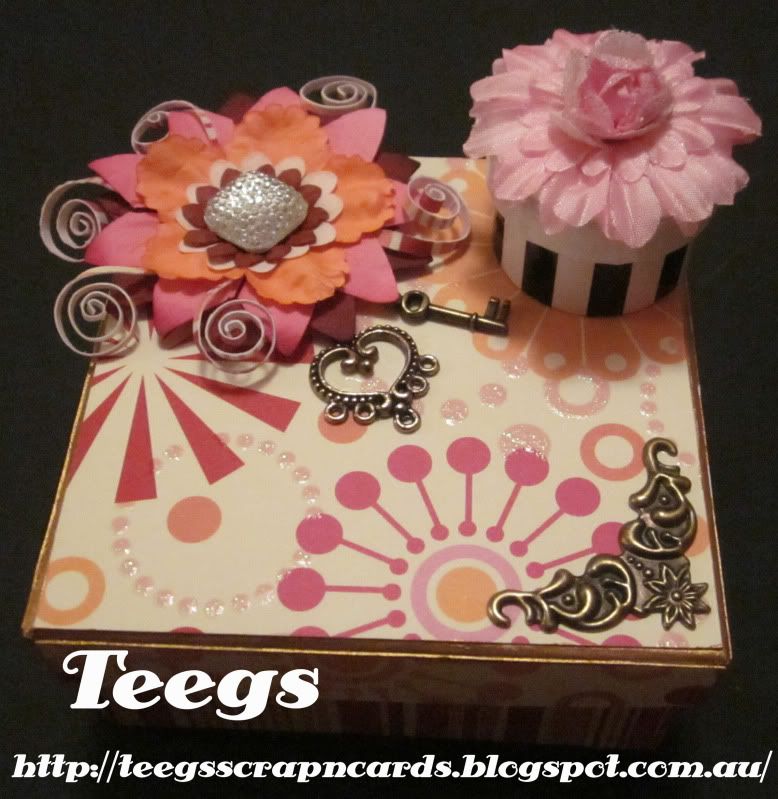
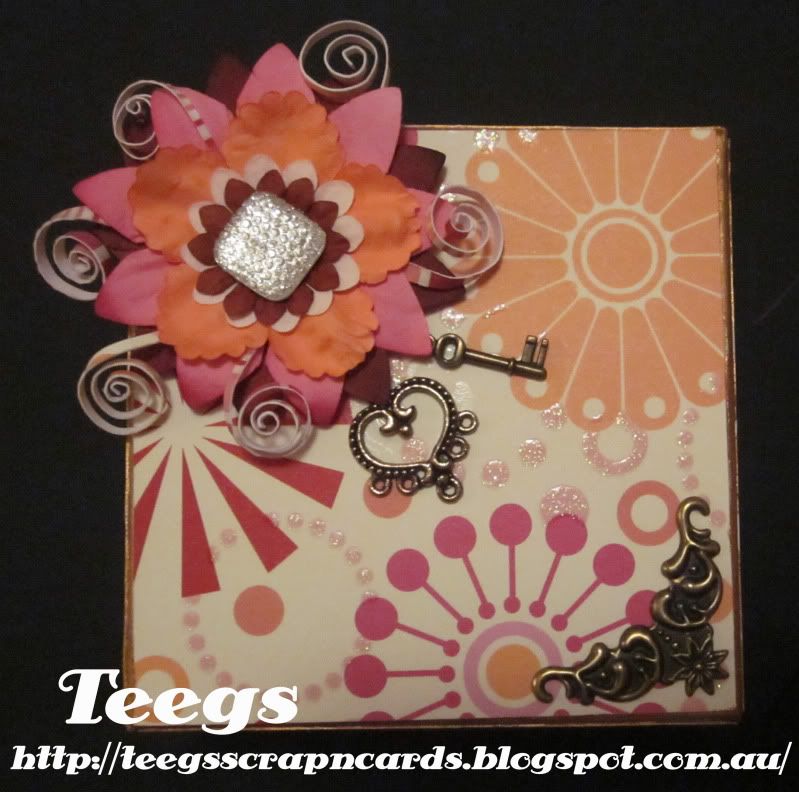
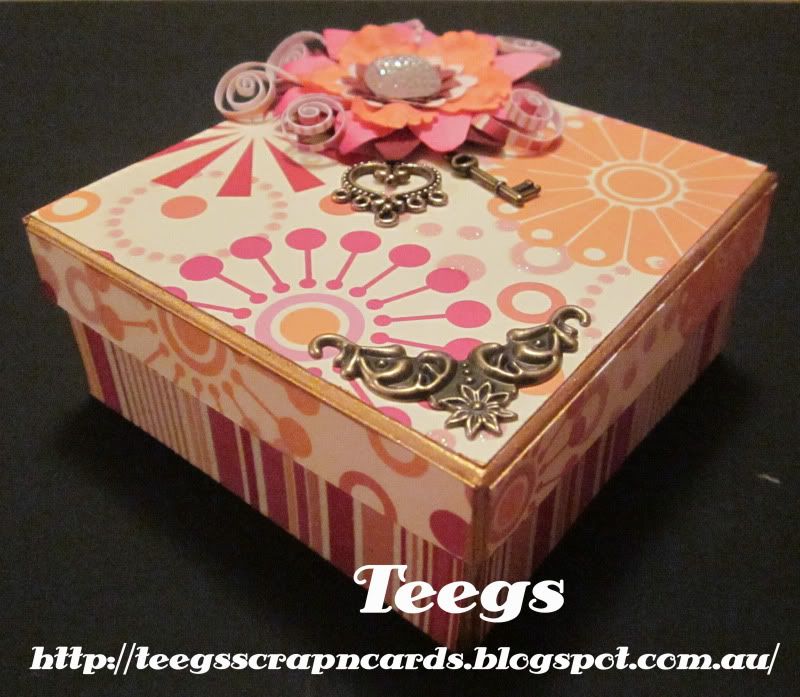
I then made a flower embellishment out of several paper flowers (which I held in place with a small brad), I curled up strips of scrap cardstock and glued them in amongst the flowers and next I glued a square diamonte to the center. I then attached it to the top left corner of the box lid. Lastly I glued a few metal embellishments onto the lid as well.
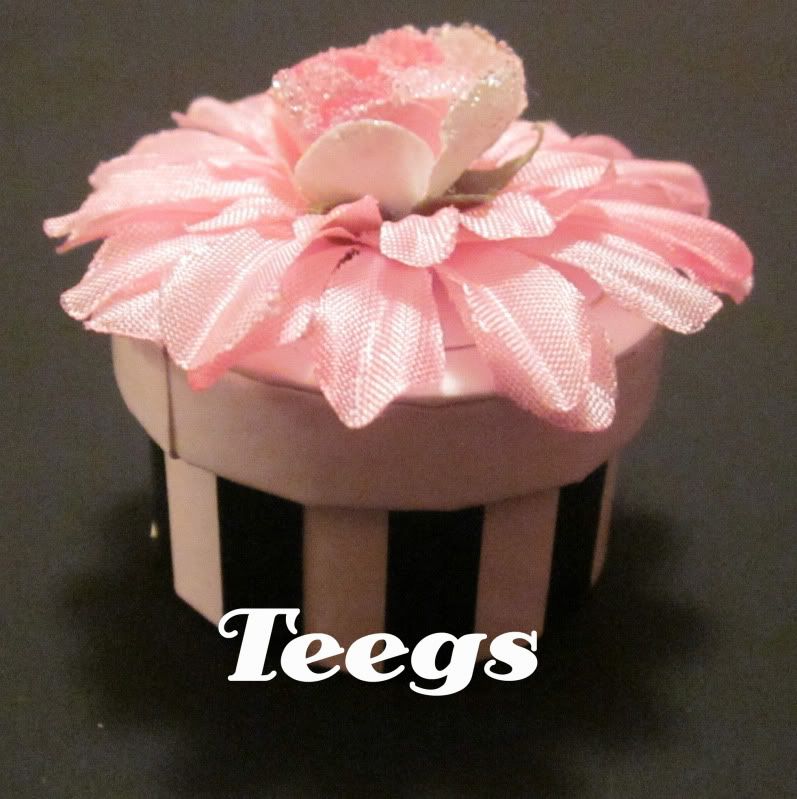
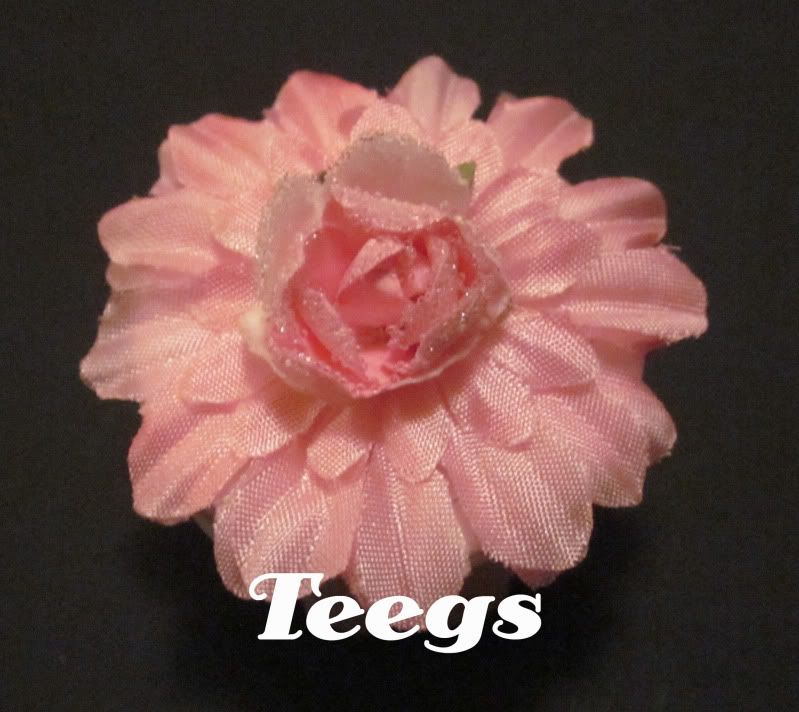
I decided to keep the empty "Thomas Sabo" charm box relatively simple, as I quite like the stripes on the original box. So I cut a small circle out of white card which I attached to the center of the lid (to cover the writing). I then made a flower embellishment for the lid using 2 medium and one small pink silk flowers and a pink pre made paper rosette which I attached to the center of them by poking the stem (as they came in a bunch and I left approx 1.5cm of stem on it) through each silk flower and then bending it at a 90 degree angle to push flat on the back of the flowers. Lastly I glued it to the center of the box lid.
I quite enjoyed making something other than a card for once and I would like to thank Hazel and the design team at Willow Sketchie Challenge for a fun theme. Good luck to all that enter. :D
2 Gift Boxes
To make these gift boxes I first went through my craft goodies to see what boxes I had in there.
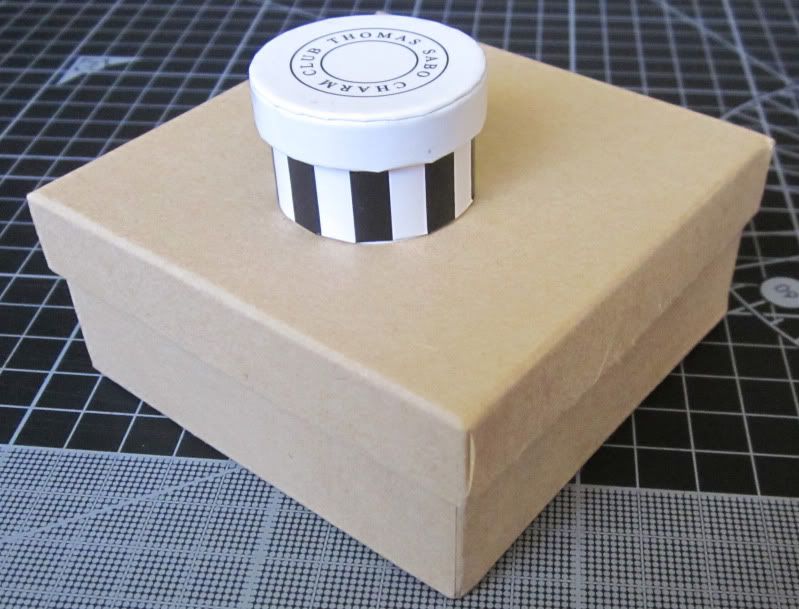
I decided on an empty "Thomas Sabo" charm box and a square paper mache box. I started with the paper mache box first.
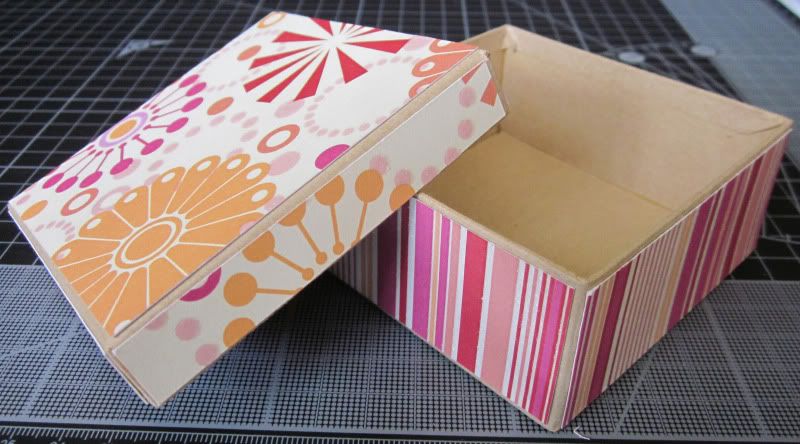
I covered the lid with a glitter patterned cardstock, using a separate piece for each surface of the lid. I then did the same for the box itself using a co-ordinating glitter striped cardstock. I then painted the edges of the box with gold acrylic paint.
I then made a flower embellishment out of several paper flowers (which I held in place with a small brad), I curled up strips of scrap cardstock and glued them in amongst the flowers and next I glued a square diamonte to the center. I then attached it to the top left corner of the box lid. Lastly I glued a few metal embellishments onto the lid as well.
I decided to keep the empty "Thomas Sabo" charm box relatively simple, as I quite like the stripes on the original box. So I cut a small circle out of white card which I attached to the center of the lid (to cover the writing). I then made a flower embellishment for the lid using 2 medium and one small pink silk flowers and a pink pre made paper rosette which I attached to the center of them by poking the stem (as they came in a bunch and I left approx 1.5cm of stem on it) through each silk flower and then bending it at a 90 degree angle to push flat on the back of the flowers. Lastly I glued it to the center of the box lid.
I quite enjoyed making something other than a card for once and I would like to thank Hazel and the design team at Willow Sketchie Challenge for a fun theme. Good luck to all that enter. :D
Subscribe to:
Posts (Atom)